
")
Step 3: Preparing for the RVC connection
Put in place the camera-badge (RVC). Take the wiring and connect it to the camera.
The 4-pin connector is connected to the 2-socket badge and plug in the existing wiring harness that you previously unplugged.

The two cables, yellow and black that are left loose, should not be connected right away, but instead they should be tied in such a way that their edges end up behind the rear lamp in the right.

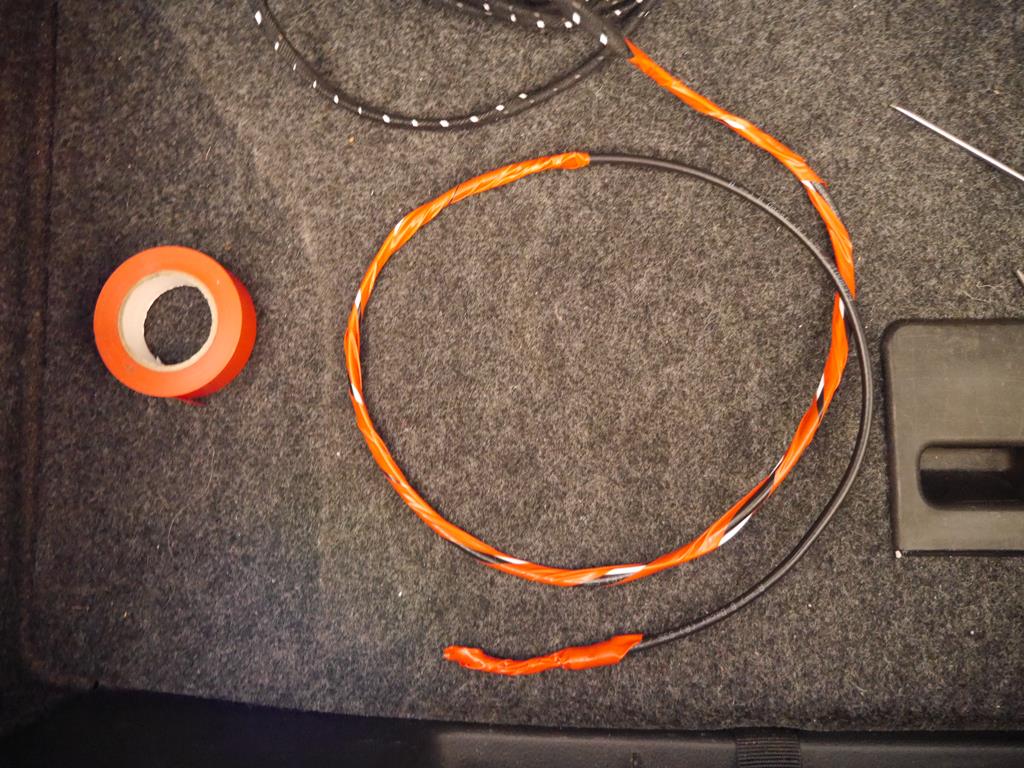
Now, you should align the cable harness with the existing cables using the bindings and / or the cloth tape and make sure it is not completely stretched or loose.

Next, you have to disconnect the wiring connector plate from the cable. This must be done, otherwise the cables will not be able to pass through the existing wiring and may block the opening of the trunk when opens or closes. You will need a special removal tool for this job.

Alternatively, you can cut the wiring about 10 centimeters before the plug and connect it after it is passed in the front of the car. If you do not have this special removal tool, then this solution is the only way to do it or else you may destroy the plug and you will need cables and plug for proper reconnection.
Now, you should wrap the end of the wiring with an insulating tape.
The next step is to drill to open the water holes. Insert the water drain hose into the RVC and mark the inside of the hole to leave the water. With a small drill, you should open a hole at the inside of the porthole and another on the outside of the trunk to pull the water out. You should make sure that the holes have the exact size to allow the drain hose to securely fit into them.


Next, you have to go to a car shop to put some color in your holes to prevent future rust.
Now disconnect and remove the RVC and then insert and reconnect the original VW badge.