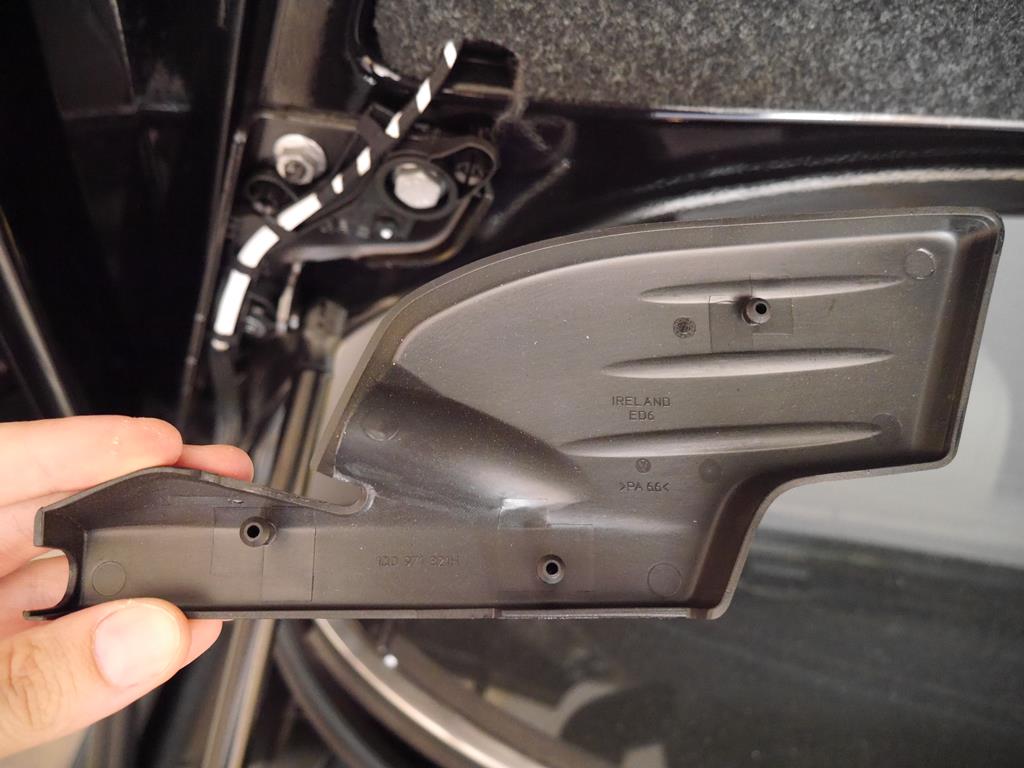
Step 2: Removing the top trunk cover
Firstly you must remove the top carpet of the trunk. Unclip the lock cap by pulling it down, then undoing the two lids to the right and left by pulling them out. Finally, unscrew the 8 plastic screws and the two hidden iron screws.

You will see something like the following image:
Then, disconnect the plug from the rear VW badge and unscrew the three T25 screws that hold it in place to remove it.
At this point, it is quite possible that at least one screw will not come out and it will seem that it turns crazy. In fact, the screw does not turn because it is 99% rusted. There are various solutions to overcome this problem. First of all, you should spray the screw with a lubricant, such as the WD-40. Then you can pinch a screwdriver to the point where the screw on the base, so that it can slide in between. While holding resistance with the screwdriver, you can start unscrewing.
If this does not work out, you must cut the head of the screw, then remove the screw along with the thread, make a new thread and use a new screw. As you can see, this solution is the worst, because the thread does not exist as a replacement part, as it goes along with the trunk.
Here's how the damaged screw, along with the thread, looks like:


