
")
Step 2: Wiring installation - Removing the roof plastic cover
You must remove the big plastic roof cover in order to make the necessary modifications. This procedure is not too hard but it should be done with caution.
First we remove the ceiling. Remove the decorative plastic with a credit card that we insert into the slot of the ceiling and then lightly push the two clips that are underneath, remove the ceiling. Remove the power and microphone cables.
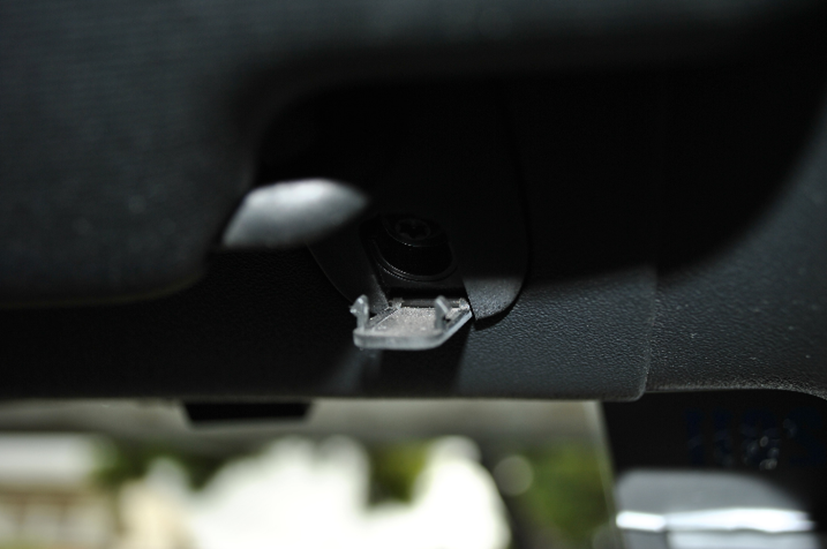
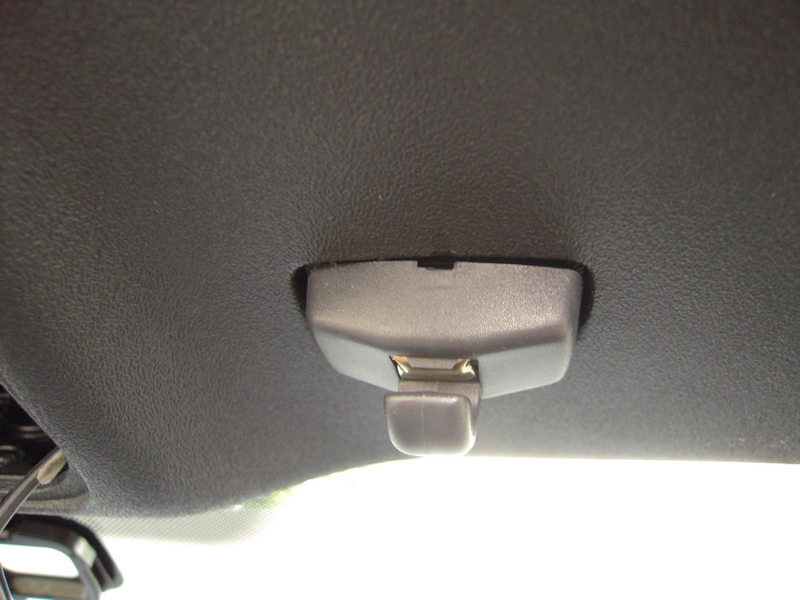
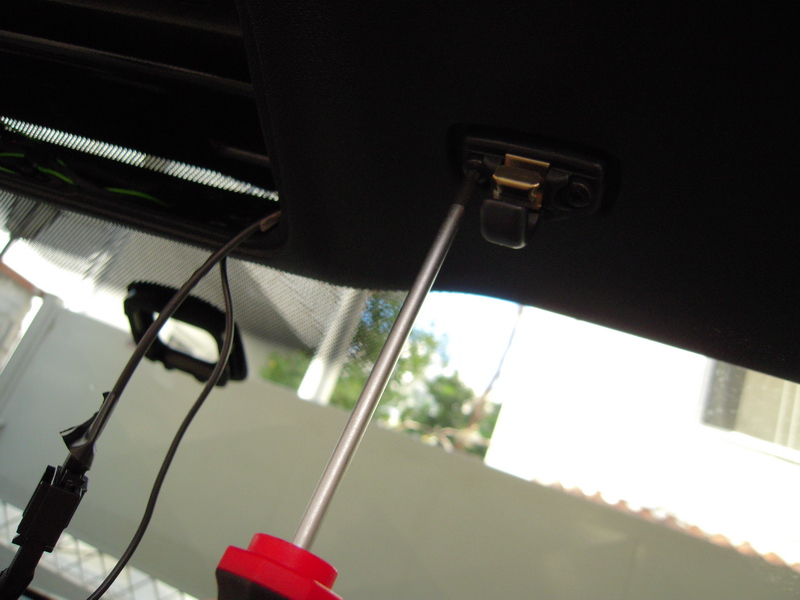
Then we have to remove the driver's and passenger's sun visors. We start with that of the co-driver. We unbutton with a small straight screwdriver, to which we have applied an insulating tape, the plastic cap to reveal the torx screw and unscrew it.
We take the plastic of the shade a little to our side, and when the power cord is unveiled, we take it out of the socket.
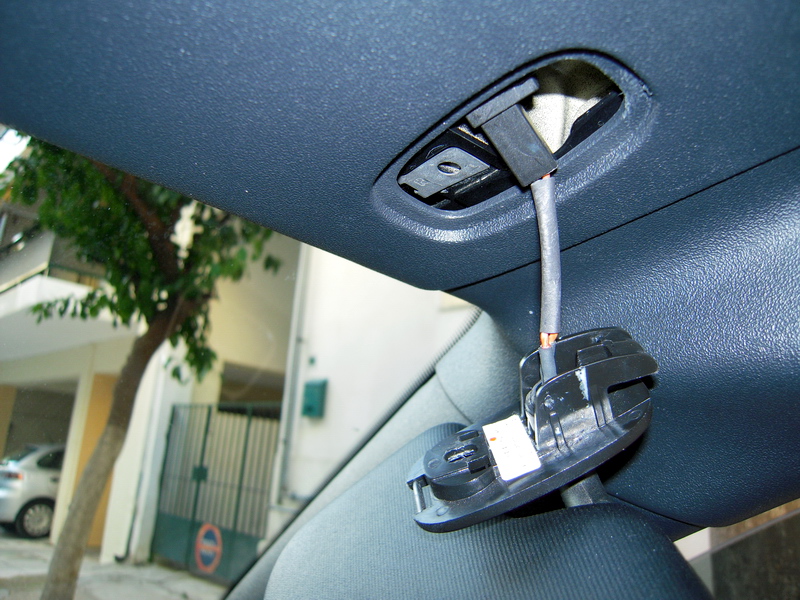
We remove the sun visor and perform the same procedure for the driver's sun shade.
There are two plastic clips that fix the shades. Here, we must carefully insert a thin straight screwdriver right between each clip and the top of the roof and move the plastic cover of the clip down.
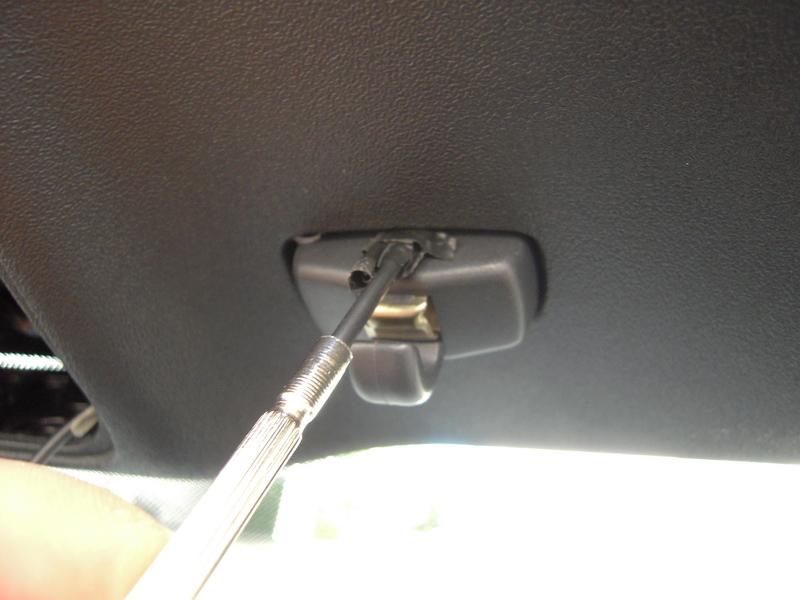
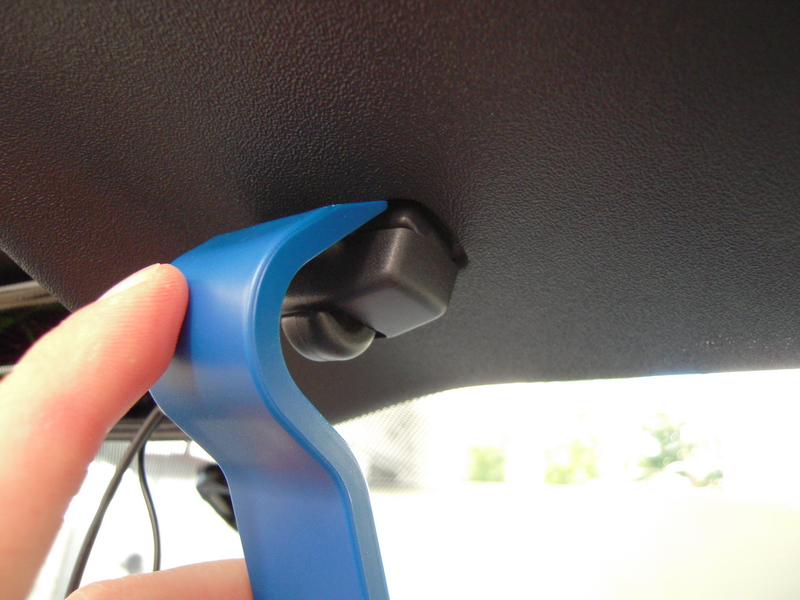
As soon as the plastic lid comes down, remove it with the special tool for the plastic parts and then unscrew the two torx screws that are hidden beneath the clips.
We can now remove the big plastic roof cover.
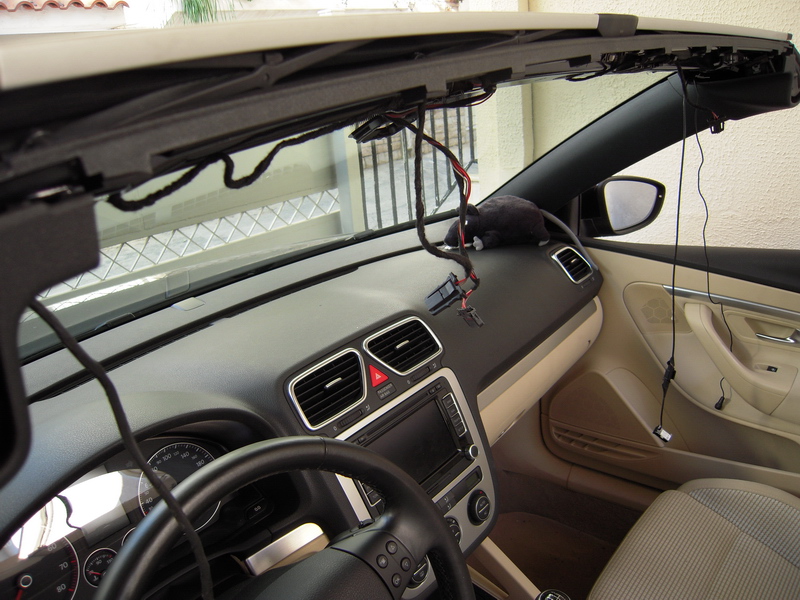
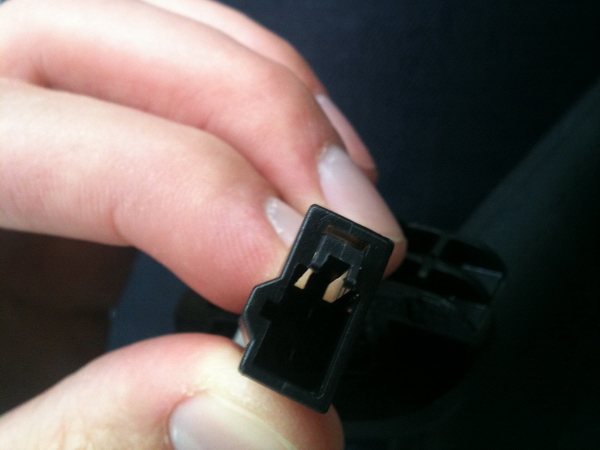
After the big part of the roof comes out we pull out the driver's column and pass the wiring. The ready plugs go to the mirror and the sensor and the rest in the fuse box. We make sure we get the wiring harnesses where there is already factory wiring and of course there is no chance of being caught by the plastic when we click on it.
At this point, you either have to replace the big part of the roof or drill the existing one.